HTML for Absolute Beginners
HTML stands for HyperText Markup Language, and it's the code that browsers have been using to display websites since it was created by Tim Berners-Lee in 1990.
Web developers don't always write the HTML directly anymore. There are a lot of advanced tools and other languages that can be used to compile (transform) different kinds of code into the standard HTML that web browsers expect.
But you can write HTML directly, and a healthy knowledge of HTML fundamentals will help you excel with the web platform no matter what technology you're working with.
What it looks like
Webpages are made of "tags" that tell the browser how to display the page. Most tags can be opened <html> and closed </html> and their contents are anything between the open and close tags.
In the code below, the html tag opens on line 1 and closes on line 5.
<html> <head></head> <body></body></html>Everything between is indented to show that it's inside the html tag.
Children can have their own children, so we can put a <title> inside <head> and we can put regular text inside the <title>
<html> <head> <title>Why I like to travel</title> </head> <body></body></html>Notice how <head> </head> has been split into two lines here.
Try to make sure your open and close tags line up either vertically (same indent level) or horizontally (same line)
Spaces and line breaks don't matter much in HTML, so they're usually stripped out during file compression to save bandwidth. That's not something you have to do yourself, but it's easier to read and write HTML if you indent every time you open a tag.
The tags
There are lots of different tags that you'll learn soon.
<html>
: Marks the page as an HTML document. This will wrap your entire website, and there is only ever one of these.
<head>
: Contains extra information about your site. Nothing inside here ends up on the page.
<title>
: The title of your page. This is what shows up on the tab in your browser, and will be the title of your website in Google search results too.
<body>
: The contents of your page. Everything you want to show on screen will go in here.
<h1>
: The most important heading on the page. You should only have one of these and it will usually say something similar to the <title>. If your page is an article, the article title will be an <h1>.
<p>
: A paragraph. Most of your text will go in these.
<ul>
: An unordered list, showing up as bullet points.
<li>
: A list item. These are the only thing that can be inside lists, and in a <ul> this will show up as a single bullet item.
Putting them all together
<html> <head> <title>Why I like to travel</title> </head> <body> <h1>Why I like to travel all year long</h1> <p> I love being able to go to new places and see new things. As soon as I don't have somewhere to be for work, you'll find me headed to the airport with my suitcase in hand. </p> <p> There are three reasons I like to travel: </p> <ul> <li>I can try new foods.</li> <li>I can meet new people.</li> <li>I have a chance to see the world.</li> </ul> </body></html>Write this code in a text file, like Notepad on Windows or TextEdit on Mac, and save as mywebsite.html. Then open it in your web browser

Notice the tab has the same text as in our <title> tag,
we have one heading, two paragraphs, and one list with three bullets, exactly like the HTML describes.
There are a few different ways to write tags. Most of them are relics of an older time that work in certain places because if we stopped supporting them, older websites would break.
I will cover them anyway so that you recognize them when you see them, but you can safely avoid writing them in your own code if you want to keep it simple.
Opening, closing, and self-closing
The first rule is that tags that have contents should open with <tag> and close with </tag> and the contents go inside.
The second rule is to use <tag /> to self-close tags without contents
Those three types of tags: opening, closing, and self-closing, are the only ones you need to write, and those rules will cover you in all circumstances.
A <p> tag, marking a paragraph, isn't very useful without text inside, so you will almost always see that open and close.
An <img> tag however, marks an image, and it won't have contents so you can make it self-closing.
<p>This is my cat</p><img src="https://placekitten.com/240/240" alt="cat"/>This is my cat
Case sensitivity
HTML is not case sensitive, so <BODY> and <body> are equally valid. Uppercase tags were popular historically, but almost everyone sticks to lowercase these days.
Void elements
The <img> element is in fact called a void element and cannot have children
These cannot have any content, and cannot have separate closing tags. Closing a void element like this is invalid html.
<!-- this is invalid and bad --><img alt></img><!-- these are both ok --><img alt><img alt />In the past, the only way to write an img tag was to use <img> with no closing tag. Now, it's ok to make it self closing for consistency
Optional closing tags
The <head> element and the <p> element and a few others actually have optional closing tags. They are only allowed specific contents, so the browsers can intuit on their own where the closing tag should be.
<!-- this is valid but bad --><p>Welcome to my blog</p><p>Here are a list of my posts</p><ul> <li>My first post</li> <li>My second post</li> <li>My third post</li></ul>In my life I have never seen anyone write code like this professionally. Most people have never heard of this, and many whom I tell about it say that they were happier not knowing it was a thing.
Consider this to be HTML trivia and leave it at that
Create a new page.html file in a text editor (TextEdit on Mac, Notepad on Windows, or whichever you prefer) and open it in your browser. Every time you update the file and save, you can see the changes by refreshing your browser.
<!DOCTYPE html><html> <head> <title>Cheeto</title> </head> <body> <h1>Cheeto</h1> </body></html>
Changing the font
Inside the <head>, add a <style> tag to change the font.
<head> <title>Cheeto</title> <style> html { font-family: sans-serif; } </style></head>
The <style> tag is for including CSS (Cascading Style Sheets) in your website.
CSS is a different language from HTML and makes up one of the three pillars of web development (along with Javascript). With CSS you can set rules for how your site should look.
A CSS rule is written this way
tag { property: value;}The CSS we wrote above can be read as "The <html> tag should choose its font-family from the default sans-serif font."
You can be more specific.
html { font-family: Helvetica, Arial, sans-serif;}This rule will choose Helvetica if it's available, otherwise Arial, and falling back to the default sans-serif otherwise.
Add an <img> tag to your <body> just after the heading
<body> <h1>Cheeto</h1> <img src="https://placekitten.com/200/200" alt="cat" width="200" height="200" /></body>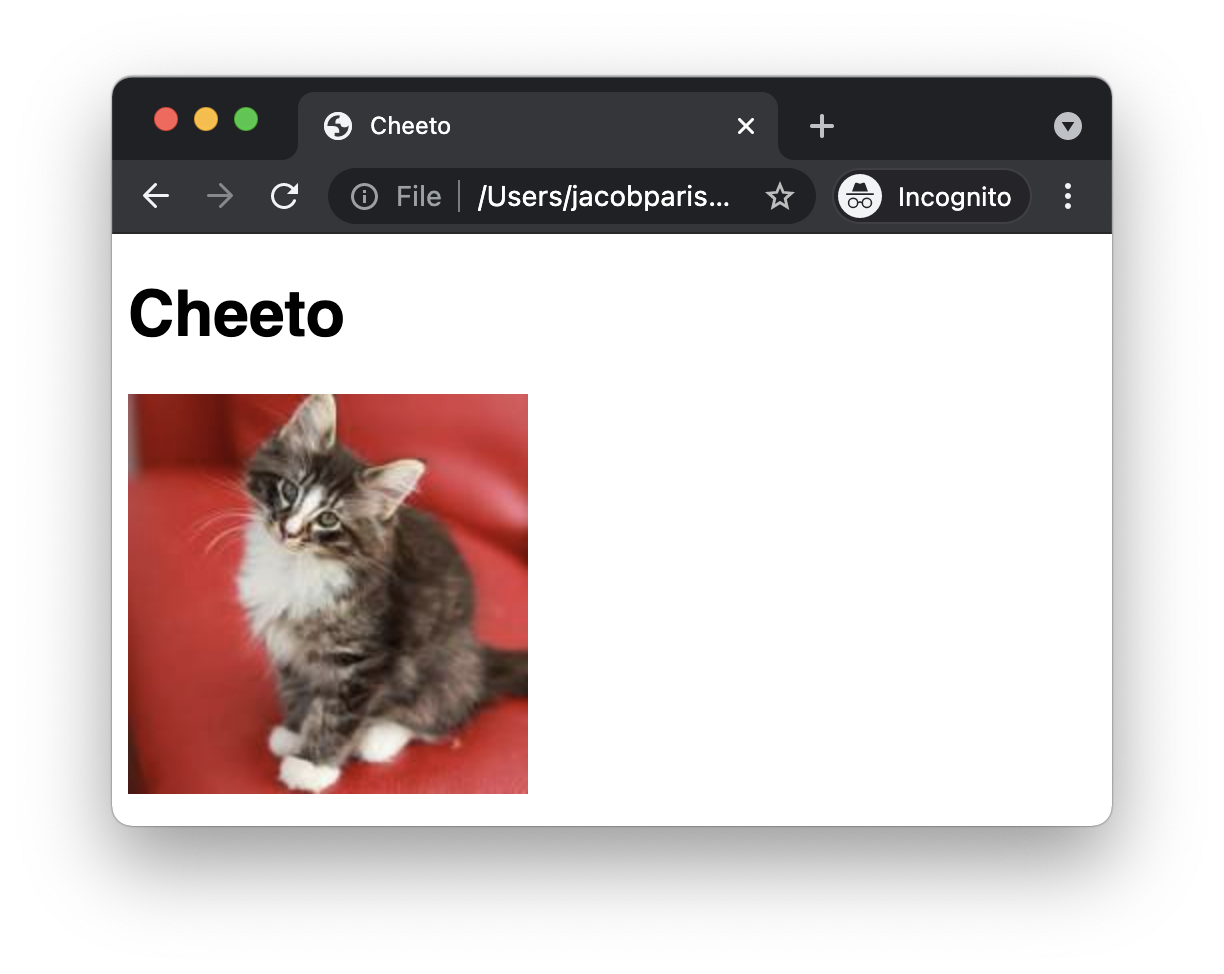
The img tag
This <img> tag has two attributes, one named src and one named alt.
src : The source of the image, usually written as a URL.
alt
: The alternative text to display if the image cannot load or if the user is viewing your site in a way that doesn't support images, like old mobile browsers, poor internet connections, screen readers, Siri type assistants, and so on. The alt attribute is mandatory, and should be left blank (alt="") for decorative images.
width/height : The width and height of the image, in display pixels. Before the image loads, the page will reserve this much space for it, so the layout doesn't jitter around as the images load.
Attributes
Attributes are a way of supplying additional information to an element. Almost everyone writes them with double quotes, but single is also valid. I recommend sticking to double quotes, if only to avoid having to listen to loud incorrect people tell you you're wrong.
<span class="icon" id="close"> X </span>To tell the browser that your website is in English, which helps assistive software make assumptions and helps search results rank you for English searches (both good things), add the lang attribute to your <html> tag.
<!DOCTYPE html><html lang="en"> <head> <title>Cheeto</title> </head></html>The web wouldn't be a web if you couldn't get from one page to another. We do that with links.
<body> <h1>Cheeto</h1> <img src="https://placekitten.com/200/200" alt="cat" /> <p> Cheeto is a <a href="https://en.wikipedia.org/wiki/Cat"> cat </a> </p></body>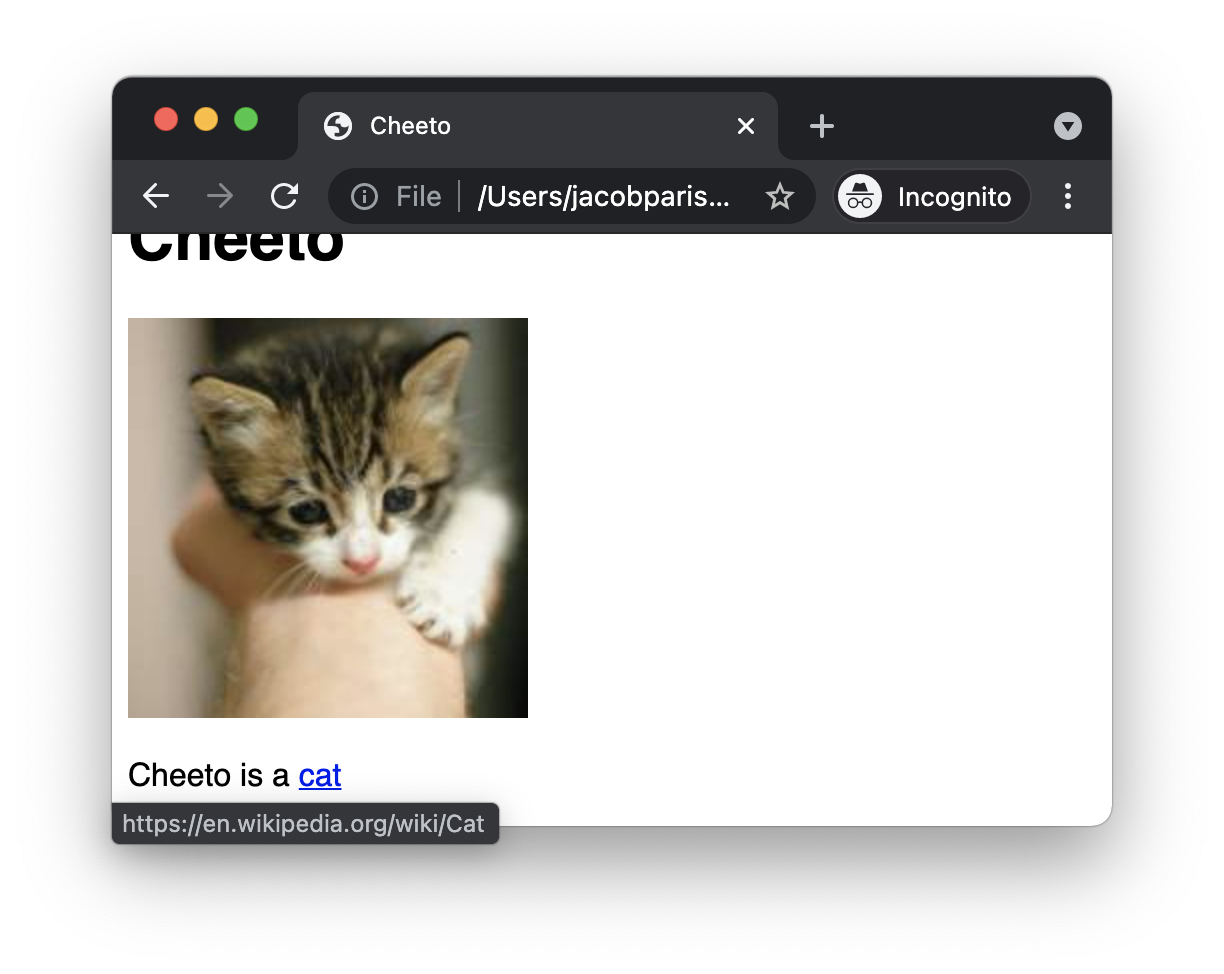
The anchor tag
<a>
: The anchor tag links content to somewhere else. That can be another part of the same page, a different page on the same website, a different website, an app, an email client, a phone number, or one of many more places.
You set the destination for your link with the href attribute, and the content you're trying to make linkable goes between the <a> tags.
Image links
Links don't have to be just text. Images and other elements are perfectly valid children of <a> tags. Just as we made the text cat clickable in the last example, the same could be done with the image.
<body> <h1>Cheeto</h1> <a href="https://en.wikipedia.org/wiki/Cat"> <img src="https://placekitten.com/200/200" alt="cat" /> </a> <p>Cheeto is a cat</p></body>Now, clicking on the image will take you to the Wikipedia page.
Opening links in new tabs
You can open a link in a specific tab by using the target attribute.
The target attribute specifies the name of the tab to open. Both of the links below have target="_blank", which means clicking one will open in a new tab.
<ul> <li> <a href="https://en.wikipedia.org/wiki/Cat" target="_blank" rel="noopener" > Cat </a> </li> <li> <a href="https://en.wikipedia.org/wiki/Dog" target="_blank" rel="noopener" > Dog </a> </li></ul>You may have noticed the additional attribute rel="noopener". It's important for security to this on any link with a target. If you link to a site without it, that site can open the link from the other end to run arbitrary code on your site. This is an old vulnerability that has existed for a long time.
Internal links
Links with no protocol (the https:// bit) are relative links and are great for linking to different pages within your own website.
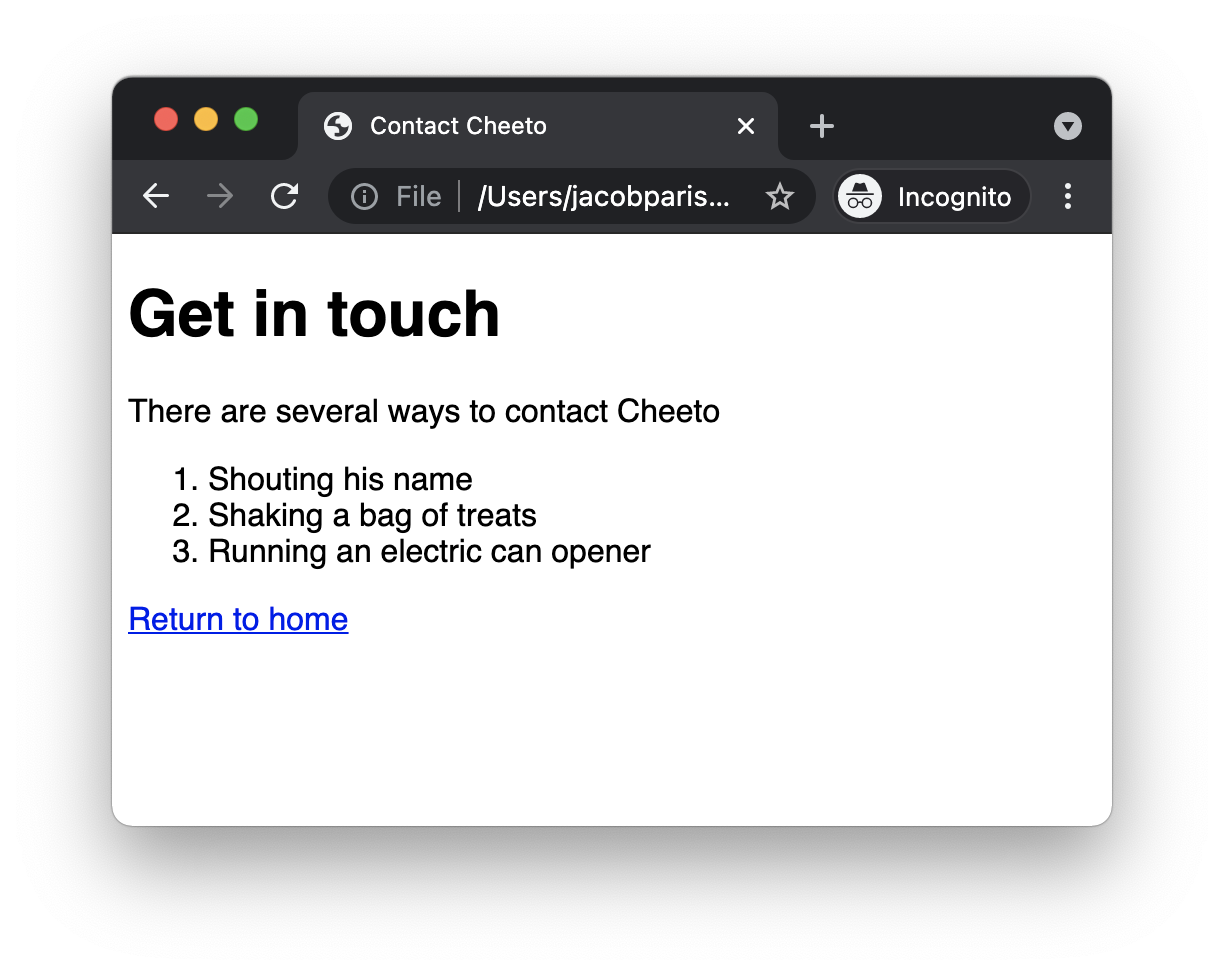
<p> You can <a href="contact.html"> contact Cheeto here </a></p>If you try to follow that link it will look for a contact.html file in the same directory as your current webpage. Right now there isn't one, and the browser will waste no time telling you. Let's fix that.
Make a new file named contact.html and paste the following html.
<!DOCTYPE html><html lang="en"> <head> <title>Contact Cheeto</title> <style> html { font-family: sans-serif; } </style> </head> <body> <h1>Get in touch</h1> <p> There are several ways to contact Cheeto </p> <ol> <li>Shouting his name</li> <li>Shaking a bag of treats</li> <li>Running an electric can opener</li> </ol> <p> <a href="index.html"> Return to home </a> </p> </body></html>If you named the other html file something other than index.html, use that name instead in the Return to home link. You should be able to open this file and switch between the two pages by clicking the link.
Hash links
You can link to specific headings on a page by specifying the id of the heading after the # portion of the link.
Every heading on the articles on this site has an id attached, to make it easy for people to share links to specific sections.
<h2 id="internal-links">Internal links</h2><p> You can link to <a href="#internal-links"> specific headings on a page </a> by specifying the `id` of the heading after the `#` portion of the link.</p>Tabular data belongs in tables. Anything that could go in a spreadsheet should probably belong in a table.
Add this table to your homepage.
<h2>Daily complaints</h2><table> <thead> <th>Time</th> <th>Complaint</th> <th>Resolution</th> </thead> <tbody> <tr> <td>05:45</td> <td>Bedroom door was closed</td> <td>None, meowing continues</td> </tr> <tr> <td>06:00</td> <td>Bedroom door was closed</td> <td>None, meowing continues</td> </tr> <tr> <td>06:15</td> <td>Bedroom door was closed</td> <td>Door opened</td> </tr> <tr> <td>06:20</td> <td>Hungry</td> <td>Food dish was filled</td> </tr> <tr> <td>06:25</td> <td>Bottom of food dish visible</td> <td>Stopped eating, meowing continues</td> </tr> </tbody></table>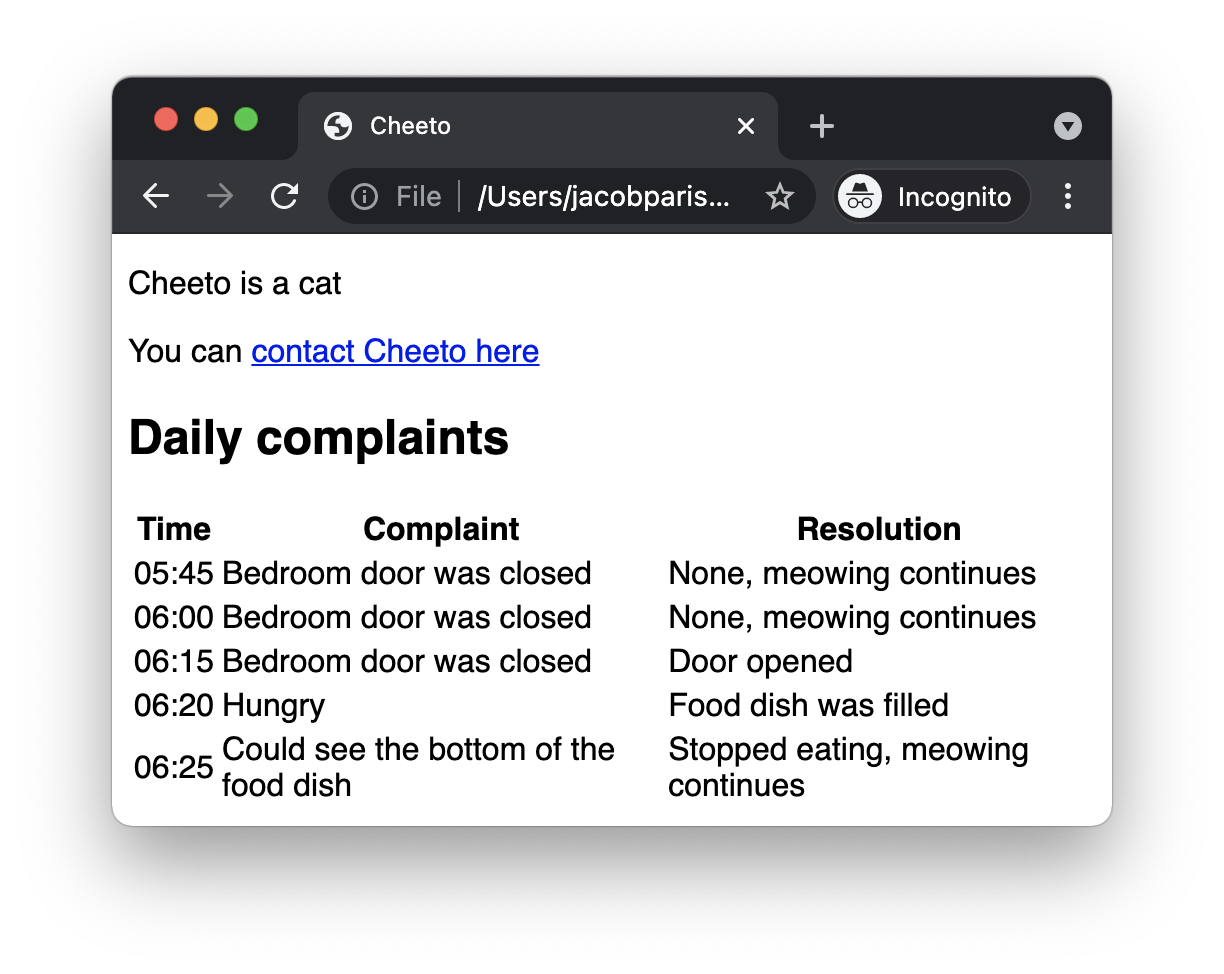
The <thead> and <th> tags
The table head tag is the first row on the table and is used to label the columns. Each column heading is a table heading element, and you'll have one for each column.
<thead> <th>Time</th> <th>Complaint</th> <th>Resolution</th></thead>The <tr> and <td> tags
The table row tag is for every other row on the table, and that's where your data goes. Each cell is a table definition element, and they must be in the same order as the heading columns.
The <th> tag is just the heading version of the <td> tag.
<tr> <td>05:45</td> <td>Bedroom door was closed</td> <td>None, meowing continues</td></tr>The table structure
All table tags must be children of a <table> element. After the <thead> is the <tbody>, and all of the non-heading rows must be inside the <tbody>.
<table> <thead> <th>Column 1</th> <!-- Repeat for more columns --> </thead> <tbody> <tr> <td>Column 1</td> <!-- Repeat for more columns --> </tr> <!-- Repeat for more rows --> </tbody></table>In summary,
HTML is a language used to write the structure of web pages. It's made of tags that can have attributes and contain either text or other elements.
By writing HTML in a .html file, browsers are able to read it as a webpage. This is the same way all websites work, although many sites generate the HTML from other code and data from databases rather than having developers write it all manually.
Tag reference
<html>
: Marks the page as an HTML document. This will wrap your entire website, and there is only ever one of these.
<head>
: Contains extra information about your site. Nothing inside here ends up on the page.
<title>
: The title of your page. This is what shows up on the tab in your browser, and will be the title of your website in Google search results too.
<body>
: The contents of your page. Everything you want to show on screen will go in here.
<h1>
: The most important heading on the page. You should only have one of these and it will usually say something similar to the <title>. If your page is an article, the article title will be an <h1>.
<h2>
: A heading that divides the page into sections. In an article, most subheadings will be an <h2>. If the subheading needs to be split into more specific sections, each of those headings should be an <h3>.
<p>
: A paragraph. Most of your text will go in these.
<ul>
: An unordered list, showing up as bullet points.
<ol>
: An ordered list, showing up as numbered items.
<li>
: A list item. These are the only thing that can be inside lists. In a <ul> this will show up as a single bullet item, and in a <ol> this will show up automatically numbered in order.
<img>
: An image. Use the alt attribute to describe the image, or leave the alt attribute blank for decorative images. Point the src attribute at the image URL, and set the width and height attributes the size of the image so the page doesn't jitter around as it loads.
<style>
: Contains CSS used for styling the page. HTML, CSS, and Javascript are the three pillars of web development.
<a>
: An anchor tag that lets you link content to another location on the internet. The href attribute contains the URL you are linking to.
<table>
: An HTML table for displaying data, not to be used for the layout of your webpage. Contains the <thead>, <tbody>, <th>, <tr>, and <td> elements, as well as several other table related ones that aren't covered here.