Generate open graph social preview images with Remix
This article was written for Remix 2, which has been merged into React Router 7. Some changes may be necessary.
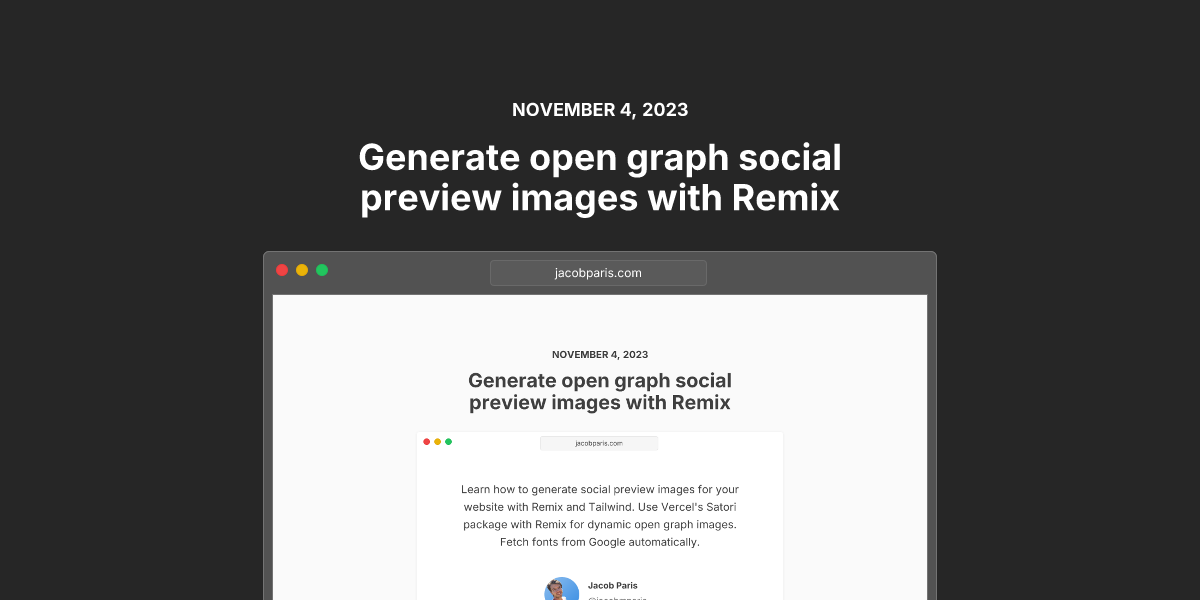
When people share your website, blog posts, or other content on social media, those websites will often display a preview image of your content.
Websites support this through a web standard called Open Graph. Open Graph is a set of tags that you can add to your HTML to tell websites how to present links to your content.
In this guide, you'll learn
- how to set a social preview image that works on Twitter, Facebook, Discord, and more
- how to use Remix to generate a social preview image for your website automatically
Use a static image
The easiest way to set a social preview image is to use a static image. You can upload an image to your website and use that as the preview image.
For example, if you have an image called social-preview.png in your website's public folder, you can set the preview image by linking to it with a meta tag.
Remix gives each route a special function for setting meta tags. You can set one in your root.tsx to handle your whole site, and then override it with specific ones for pages that need different images.
export const meta: MetaFunction = () => {
  return [
    { title: "Website title" },
    {
      property: "og:image",
      content: "https://www.example.com/social-preview.png",
    },
  ]
}
Set open graph tags for Twitter and blog posts
There are many different meta tags that you can set for open graph.. These all start with og:
Twitter uses a combination of og tags and Twitter-specific tags. In theory it's meant to use the og tags if the twitter ones aren't present, but I've found that behavior to be unreliable in practice. I always set both. Twitter tags start with twitter:
The important one you'll want to see is twitter:card which tells Twitter how to display the link. The default is summary which is a small preview image with a title and description.
- You will probably want to use
summary_large_imagewhich is the full size card with a large image, however as of October 2023 Twitter has stopped showing the title and description along with it, making potentially hard to tell the difference between an image and a link. - The image URL is going to be read by the website that is displaying the link, so you need to use a full URL and not a relative path to the image.
Here is the meta function that I use for content on this website. The data comes from my loader which parses markdown and returns its frontmatter.
export const meta: MetaFunction<typeof loader> = ({
  data,
}) => {
  if (!data) return [{ title: "Not found" }]

  const titleElements = data.frontmatter.title
    ? [
        { title: data.frontmatter.title },
        {
          name: "twitter:title",
          content: data.frontmatter.title,
        },
        {
          property: "og:title",
          content: data.frontmatter.title,
        },
      ]
    : []

  const descriptionElements = data.frontmatter.description
    ? [
        {
          name: "description",
          content: data.frontmatter.description,
        },
        {
          name: "twitter:description",
          content: data.frontmatter.description,
        },
        {
          property: "og:description",
          content: data.frontmatter.description,
        },
      ]
    : []

  const imageElements = [
    {
      name: "twitter:image",
      content: `https://www.jacobparis.com/content/${data.frontmatter.slug}.png`,
    },
    {
      property: "og:image",
      content: `https://www.jacobparis.com/content/${data.frontmatter.slug}.png`,
    },
    {
      name: "twitter:card",
      content: "summary_large_image",
    },
  ]
  return [
    ...titleElements,
    ...descriptionElements,
    ...imageElements,
    { name: "twitter:site", content: "@jacobmparis" },
    { name: "twitter:creator", content: "@jacobmparis" },
    {
      property: "og:url",
      content: `https://www.jacobparis.com/content/${data.frontmatter.slug}`,
    },
    { property: "og:type", content: "article" },
    { property: "og:site_name", content: "Jacob Paris" },
    { property: "og:locale", content: "en_US" },
  ]
}
Dynamically generate social preview images with Remix
Using a dynamic image is the same process, but instead of linking to a static image, you'll link to an endpoint that generates the image dynamically.
Vercel has first class support for generating social preview images with Vercel OG, but this requires running on Vercel's edge functions.
The workflow to build it yourself looks like this:
- Write the JSX for your social preview image
- Use Satori to turn your JSX into an SVG image
- Use resvg-js to turn your SVG image into a PNG image
- Return the PNG image from your loader function with a
Content-Typeheader ofimage/png
Put that in a resource route that you can link to from your meta function and you're all set!
Make a new route at image-generator.tsx and add a loader function.
import satori from "satori"
import { Resvg } from "@resvg/resvg-js"

export async function loader({
  request,
}: LoaderFunctionArgs) {
  const jsx = <div style="color: black">hello, world</div>

  // From satori docs example
  const svg = await satori(jsx, {
    width: 600,
    height: 400,
    fonts: [
      {
        name: "Roboto",
        // Use `fs` (Node.js only) or `fetch` to read the font as Buffer/ArrayBuffer and provide `data` here.
        data: robotoArrayBuffer,
        weight: 400,
        style: "normal",
      },
    ],
  })

  const resvg = new Resvg(svg)
  const pngData = resvg.render()
  const data = pngData.asPng()

  return new Response(data, {
    headers: {
      "Content-Type": "image/png",
    },
  })
}
Use dynamic text
This resource route is a regular web endpoint, so you can use query parameters to pass in dynamic text.
export async function loader({
  request,
}: LoaderFunctionArgs) {
  const url = new URL(request.url)
  const title = url.searchParams.get("title")
  const description = url.searchParams.get("description")

  const jsx = (
    <div>
      <h1> {title} </h1>
      <p> {description} </p>
    </div>
  )
}
When you link to this resource route, you can pass in the dynamic text as query parameters.
Remix's meta function has access to the data from its loader function, so you can use that to set the dynamic text.
export const meta: MetaFunction<typeof loader> = ({
  data,
}) => {
  const ogUrl = new URL(
    "https://www.example.com/social-preview.png",
  )
  ogUrl.searchParams.set("title", data.title)
  ogUrl.searchParams.set("description", data.description)

  return [
    { title: "Website title" },
    {
      property: "og:image",
      content: ogUrl.toString(),
    },
  ]
}
Use Tailwind for your image HTML
Rather than bundling CSS or messing with inline styles, you may prefer to use Tailwind CSS to style your social preview image.
Satori supports this out of the box, but instead of using the className attribute, you'll use the tw attribute instead.
Typescript does not love this. You can fix it by adding a custom type definition for the tw attribute.
declare module "react" {
  interface HTMLAttributes<T> {
    tw?: string
  }
}
const img = url.searchParams.get("img")
const jsx = (
<div
tw="h-full w-full flex flex-col justify-end bg-gray-700 relative"
style={{
backgroundImage: img
? `url(https://www.jacobparis.com/${img})`
: "",
backgroundSize: "1200px 600px",
}}
/>
)
const svg = await satori(jsx, {
width: 600,
height: 400,
})If you're using the Tailwind CSS Intellisense plugin then you'll also want to add tw to the list of attributes that it recognizes.
{
  "tailwindCSS.classAttributes": [
    "class",
    "className",
    "tw"
  ]
}
Load fonts from Google Fonts automatically
You can use Google Fonts to load fonts for your social preview images in Remix without needing to download and bundle them with your app.
I've created a small helper function that will fetch them and pass them to Satori.
async function getFont(
  font: string,
  weights = [400, 500, 600, 700],
  text = "abcdefghijklmnopqrstuvwxyzABCDEFGHIJKLMNOPQRSTUVWXYZ0123456789/\\!@#$%^&*()_+-=<>?[]{}|;:,.`'’\"–—",
) {
  const css = await fetch(
    `https://fonts.googleapis.com/css2?family=${font}:wght@${weights.join(
      ";",
    )}&text=${encodeURIComponent(text)}`,
    {
      headers: {
        // Make sure it returns TTF.
        "User-Agent":
          "Mozilla/5.0 (Macintosh; U; Intel Mac OS X 10_6_8; de-at) AppleWebKit/533.21.1 (KHTML, like Gecko) Version/5.0.5 Safari/533.21.1",
      },
    },
  ).then((response) => response.text())

  const resource = css.matchAll(
    /src: url\((.+)\) format\('(opentype|truetype)'\)/g,
  )

  return Promise.all(
    [...resource]
      .map((match) => match[1])
      .map((url) =>
        fetch(url).then((response) =>
          response.arrayBuffer(),
        ),
      )
      .map(async (buffer, i) => ({
        name: font,
        style: "normal",
        weight: weights[i],
        data: await buffer,
      })),
  ) as Promise<SatoriOptions["fonts"]>
}
To use this, include it in the fonts array when you pass your JSX to Satori.
const svg = await satori(jsx, {
  width: 600,
  height: 400,
  fonts: await getFont("Inter"),
})
You can also load multiple fonts at once.
const svg = await satori(jsx, {
  width: 600,
  height: 400,
  fonts: await Promise.all([
    getFont("Inter"),
    getFont("Playfair Display"),
  ]).then((fonts) => fonts.flat()),
})
Optional: Add .png to your article URLs
You can point the og:image tag directly at the resource route that generates the images dynamically, but I like to use a URL that looks like a static image.
If you add .png to the end of the URL for this blog post, you'll get the generated open graph image directly.
Create a new route at content.$slug[.png].ts with a loader that fetches the post data and returns a fetch request to the image generator.
export async function loader({
  request,
  params,
}: LoaderFunctionArgs) {
  const { frontmatter } = await getPost(params.slug)

  const url = new URL(request.url)
  const ogUrl = new URL("/image-generator.png", url.origin)
  ogUrl.searchParams.set("title", frontmatter.title)
  ogUrl.searchParams.set(
    "description",
    frontmatter.description,
  )
  ogUrl.searchParams.set("date", frontmatter.timestamp)
  ogUrl.searchParams.set("img", frontmatter.img)

  return fetch(ogUrl)
}
Or if you want to cache the image so it isn't regenerated every time, you can use a server cache with cachified.
return cachified({
  key: ogUrl.toString(),
  cache,
  async getFreshValue() {
    return fetch(ogUrl)
  },
})
Code example
This is the code for the image generator I use for this article as of Nov 3 2023. The image generation code for this blog is on Github